guest blogger - Kelly from Design Crush:

12

September 30, 2010

Photobucket
I met Kelly from Design Crush at Alt Summit back in January - she was a peach. Her blog is full of wonderful inspiration and she's here today sharing some pretty rings, enjoy!
. . . . . . . . . . . . . . . . . . . . . . . . . . . . . . . . . . . . . . . .

Before anything else, I want to send out a huge congratulations and best wishes to Danni and Nick on their marriage! (If I had virtual rice you would be positively buried in it, my friend!) Danni has been so sweet to share everything with us up to this point through her blog – the proposal, the engagement photos, the wedding site. So when she asked me to guest post I got to thinking about the next step, namely wedding bands. But not just any wedding bands. The kind where people are sure to stop and stare and ask you to explain them.

Photobucket
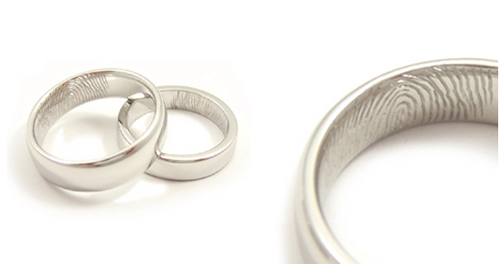
Fingerprint Wedding Bands from Andrew English. I doubt a piece of jewelry could get much more personal or meaningful because the fingerprints are the two of yours, hand-engraved on the inside of each band to the very last detail. Now a little piece of your love can be with you at all times.

Photobucket
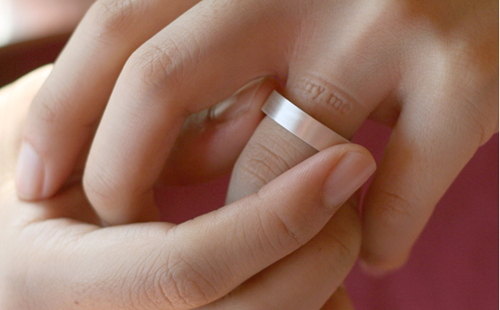
Inner Message by Jungyun Yoon. When worn this ring leaves a slight imprint of the message inside imprinted in your skin. I like that there’s a reminder even after you remove it and think it would be unbearably sweet to have special messages to one another become a part of you for a bit.

Photobucket
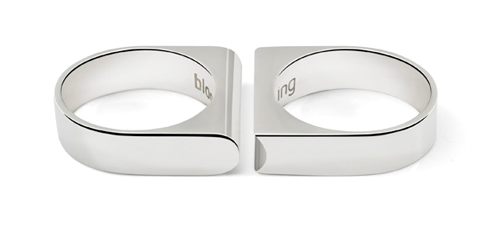
ONE by Studio Bloomm. You fit together and so do your rings. Matching bands don’t get much better than this.

Photobucket
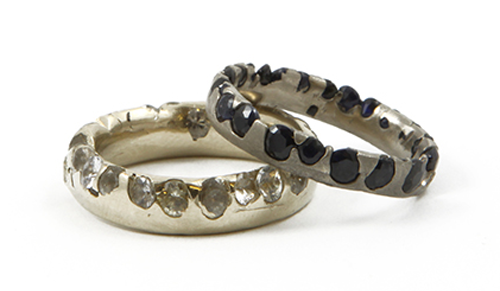
Crystal series by Polly Wales. These are definitely for a special couple. The kind who are spur of the moment, fly by the seat of your pants types without a care in the world. They don’t overanalyze and they aren’t perfectionists. The only thing they can’t live without is one another.

guest blogger - Brittni from papernstitch:

7

Photobucket
Brittni from papernstitch has a super duper blog and also an awesome shop showcase. I also love all her tutorials too. She'll probably be joining the oh, hello friend team and offering lots of fun posts in the months to come - be sure to follow her on twitter + facebook!
. . . . . . . . . . . . . . . . . . . . . . . . . . . . . . . . . . . . . . . .
Hi everyone! This is Brittni from papernstitch, and I am here sharing a few of my favorite DIY projects with you today while Danni is away. Since fall is officially upon us, I thought I would round up some seasonal projects to get us in the mood for the cool weather and the changing leaves.
1. Scallop Tulle Skirt from Burda Style: Learn to make rows of scallops (or scales as they are called in the tut) out of tulle to create whatever your heart desires. You can transfer this idea to almost anything once your get the hang out it...I am thinking scallop skirt, scallop pillow, and maybe even a curtain if I am feeling really ambitious. Click here for the full tutorial.

2. Fabric Pumpkin Tutorial from Thompson Family Life: This fabric pumpkin tutorial is the perfect fall project (in my mind anyway). And you don't even need a sewing machine believe it or not, which is good news for me, considering mine is broken. If you have kids, I don't see why you couldn't get them involved in this as well, assuming they are old enough to work with a needle and thread. Click here for the full tutorial.

3. Wall Art Flower Cluster Tutorial from Tali Schiffer: Inspired by this project from Growing Up Creative, Tali used toilet paper rolls and a whole lot of glue to create these fun flower wall art clusters for her most recent home project. The flowers actually look like leaves to me, which made me think of fall. This is a great wall art alternative to hanging prints and originals if you are looking for something unique. Click here for the full tutorial.

4. Recycled Sweater Lamp from Country Living: Remember that old sweater that you shamed into the back of your closet when it no longer fit? Well, its time to get it back and put it to good use with this sweater lamp project. This is so great for fall and winter and is a lot easier to complete than it looks. Trust me. Click here for the full tutorial.

5. Bib Necklace Tutorial from Ruffles and Stuff: For just a couple of bucks and a handful of materials you can make a bib necklace that looks like it was ripped from the pages of an Anthro catalog. Click here for the full tutorial.

6. The "Lauren" Headband DIY also from Ruffles and Stuff: I have very long hair, so I am a big fan of headbands. Keeps the hair out of my face, you know? So, when I found these adorable bow head bands made of recycled leathers and/or vinyl I just knew I had to try it. Another great fall project. And you probably already have all the materials lying around your house that you would need to complete it. Click here for the full tutorial.

That's it for me. Thanks for having me Danni!

guest blogger - Lauren from Lauren Elise Crafted:

20

September 29, 2010

Photobucket
Lauren from Lauren Elise Crafted is back with another lovely DIY! This is is so cute. Be sure to check out her shop and follow her on twitter!
. . . . . . . . . . . . . . . . . . . . . . . . . . . . . . . . . . . . . . . .

Bridesmaid Thank You Hankies
Photobucket

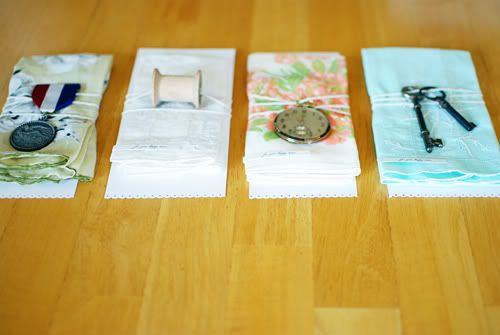
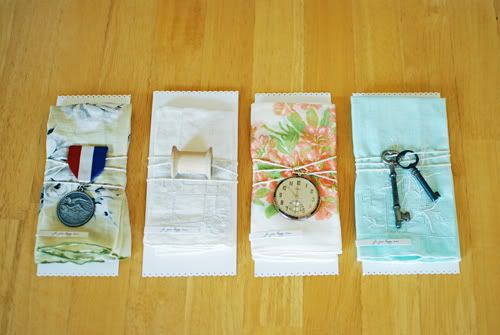
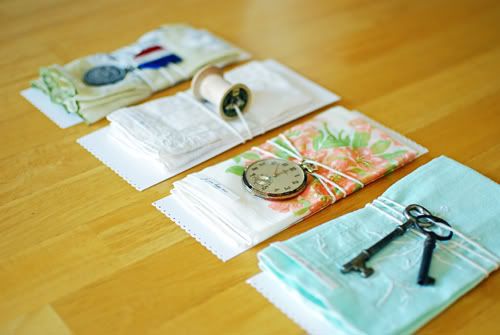
Bridesmaids have one of the most important jobs…supporting the bride. And it is important for the bride to let her girls know how much she appreciates their love and support throughout her engagement and at her wedding. A handmade message is the perfect way for a bride to thank her bridesmaids. This DIY is not only handmade but it adds a personal touch that lets each bridesmaid know why she is special. For the busy bride, this project is quick and easy but still heartfelt and unique. And the antique store pieces fit in great with a vintage, rustic wedding.

What you’ll need:
-vintage hankies
-vintage knick-knacks
-cardstock
-decorative edge paper punch
-chipboard
-string
-tacky glue or double-sided tape

Directions:
Photobucket
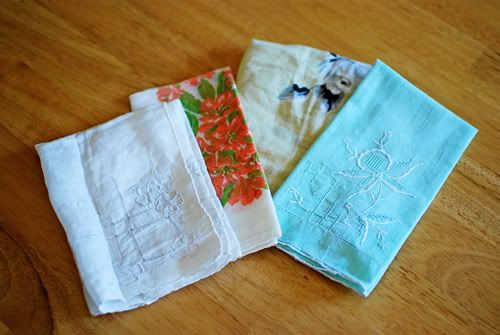
1. Pick up some inexpensive vintage hankies at your local antique store (I got each of mine for about $2.50) or use an online resource like Etsy. Depending on the condition of your hankies, you may want to hand wash and/or iron them so that they look better.

Photobucket
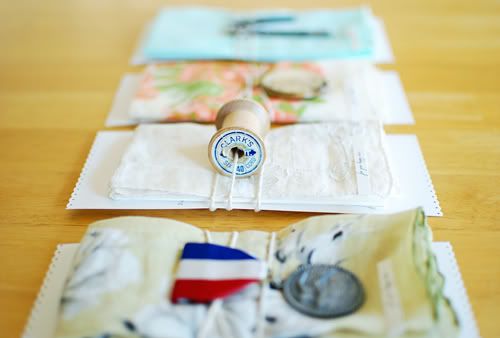
2. Peruse the antique store and look for small items that represent your friendship with each of your bridesmaids. Does a particular item make you think of your maid of honor? Does another item symbolize a particular trait of another girl? Be creative! Maybe a locket reminds you of your childhood best friend because the two of you used to wear BFF necklaces as kids. Maybe an old coin represents how you and your friend are each other’s good luck charms. This gives you the opportunity to think of something unique and special about each of your bridesmaids and then give them the proper thanks.

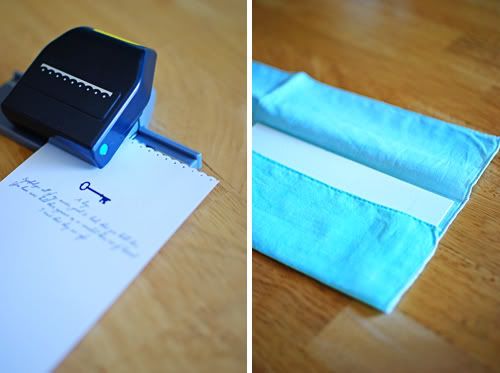
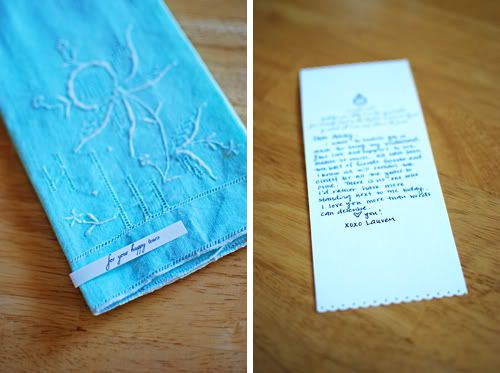
3. On cardstock print out flat cards. Include a brief message that describes to your bridesmaids the symbology behind the items you chose. I also added a small image of each of the items, in this case a key, a spool, a pocket watch, and a medal. Make sure you leave room to write a handwritten message on each of the cards, which will have a lot of meaning to each of your friends.
Photobucket
4. Use an edge punch to add a decorative border to your cards.

5. Fold your hankies to the size you prefer. For added stability, I cut out a piece of chipboard and hid it within the folds of the hankie.
Photobucket
6. Print out the message “for your happy tears” onto cardstock. Cut out the message and then adhere to each of your hankies. I used double-sided tape so that it could be removed without damaging the hankie - glue or a small stitch would also work.
Photobucket
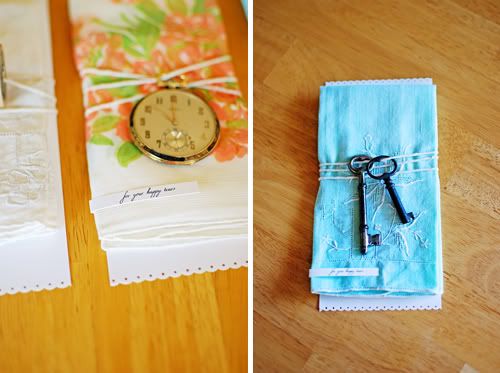
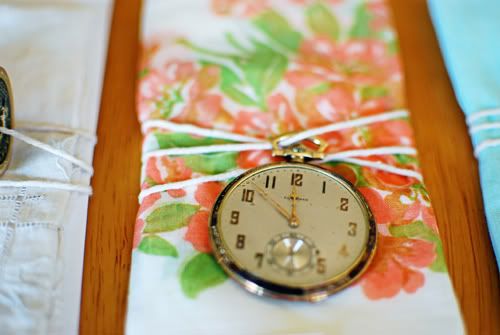
7. Place your card behind the hankie and then tie together with string, making sure to attach the bridesmaid’s vintage item to the front.

8. Give to your bridesmaids on your special day along with a hug! They can use the hankie for their tears and treasure the message that you gave them.

Photobucket
Photobucket
Photobucket
Photobucket

guest blogger - Kimberly from Trampoline:

13

September 28, 2010

Photobucket
I am pretty sure you have all seen this beautiful shop on etsy, Kimberly always has the most fabulous things for sale. Combined with her photo styling and unique items - Trampoline makes me want to just step inside my computer and get lost in all her wonderful things!
. . . . . . . . . . . . . . . . . . . . . . . . . . . . . . . . . . . . . . . .

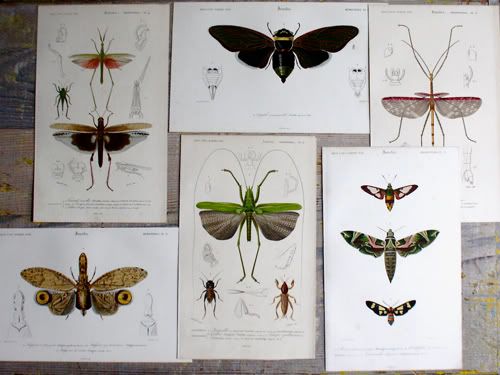
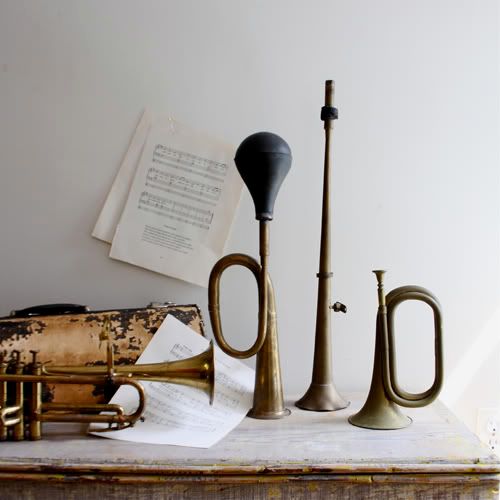
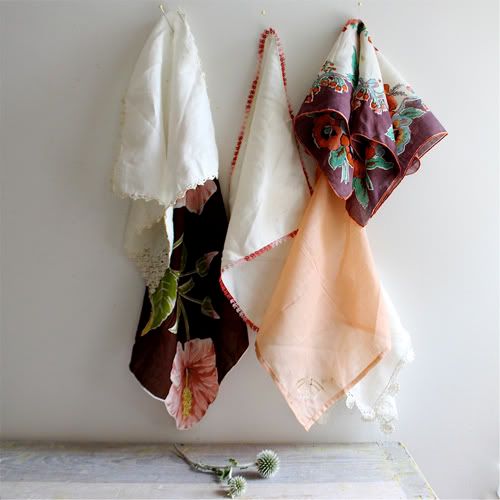
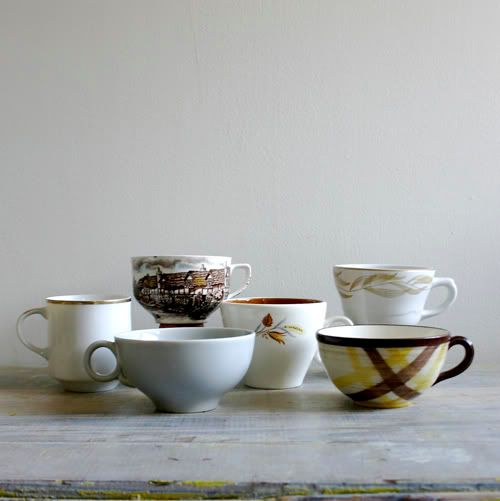
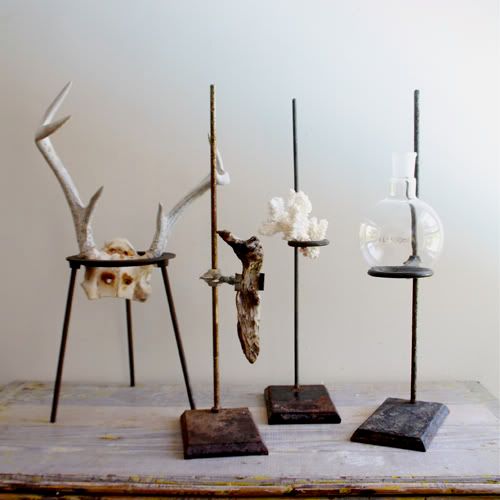
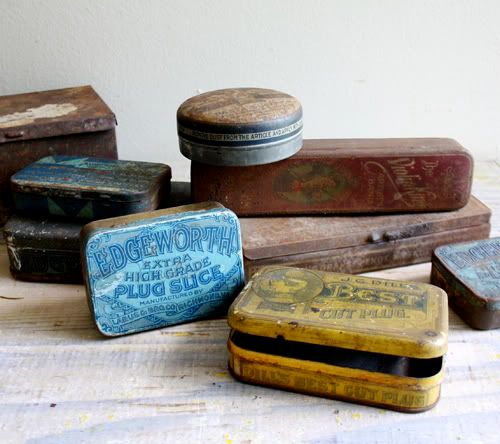
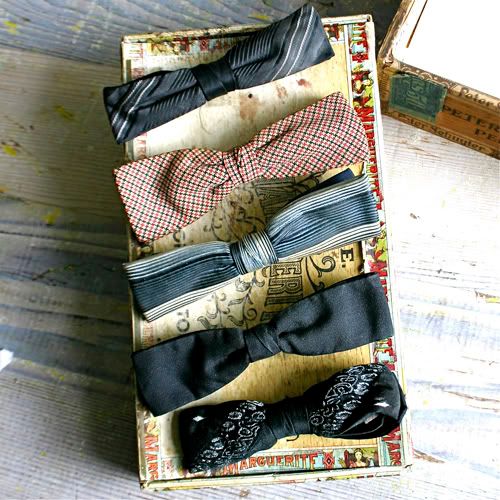
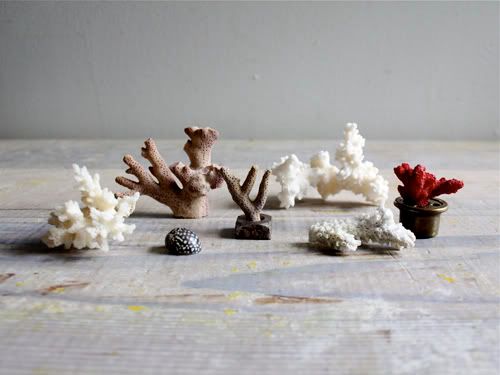
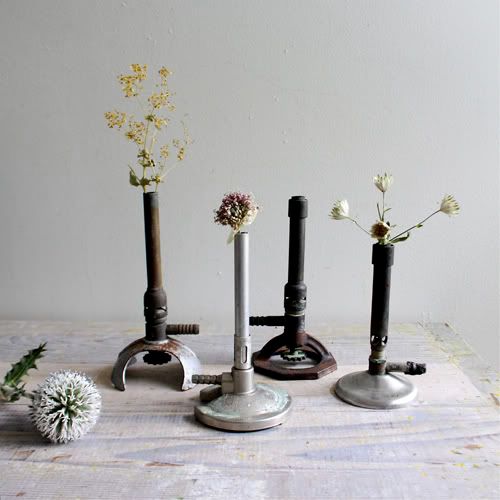
i am a consummate collector. i can't help myself. whether i am buying for my home or for the shop, it seems if i find one...i have to find many, many others. i think things look better in groups, be it three or twenty three, and could lose myself for hours examining and comparing the details and differences between each and every one. here a some of my current and past obsessions... have a wonderful trip, danni! and thanks for having me.

Vintage Shop :: www.ethanollie.etsy.com ::
Photostream :: www.flickr.com/photos/ethanollie ::

Photobucket
Photobucket
Photobucket
Photobucket
Photobucket
Photobucket
Photobucket
Photobucket
Photobucket
Photobucket
Photobucket

we're married!

152

September 27, 2010

oh, hello, a wedding from rubyellen bratcher on Vimeo.

HELLO EVERYONE! we are married :) what a special day it was. all the pictures are slowly coming in from family + friends and it is just so fun to see how the day went. all the furniture from jeni at found vintage rentals was beautiful, it really set the mood for the wedding. but we can finally breathe! we are so happy + enjoying being married and taking this all in. we leave for our honeymoon tomorrow, but i wanted to stop in and say hello to you all. guest posts will start tomorrow, and i'll see you all in a couple weeks!

my dear friend ruby made a sweet little video of our wedding with her zumi 2.0 too,
so here is a little preview of how it.

getting married!

158

September 23, 2010

Photobucket
LOL, the picture of us in 2005 makes me laugh - we look SO young, like babies or something ;) Nick was only 19! nineteen?! That seems so long ago.

6 years ago, I went to a poker game at a friend's house and had no idea that I'd meet the man I'd marry! In 2 days, we're saying our vows and starting our lives together as one. I can't even believe it, it feels so unreal! Did it feel this surreal to you? Have any day-before wedding tips to share? :)

September 25th will mark our 5th year of dating, and the first day of the start of our marriage. I look back and overwhelmed by grace. I love thinking about our stories of how the Lord brought us together. If I decided to go to a different college (which I almost did, had my dorm room and everything!) and he decided to stay in Missouri and become a cop (which he debated about!) - we would have never met! If I had started a year earlier, we wouldn't have had the same friends. There are so many "if" factors that it is without a doubt our Lord orchestrated our story in bringing us together.
This is the last post I'll post as a 'single lady' - Next time I write I will be married to my best friend! Thanks for sharing in the whole journey with us, from our engagement story to planning the wedding, and the scary time with my mom's cancer -- your support has meant so much and I feel like I want you all there to share in it with us. Anyway, I'll be having many friends here on the blog with guest posts in the coming days. It may be a little weird to say but I love you all and thank you for being here for us and for sharing in our journey.

xo. the soon to be mrs. keith

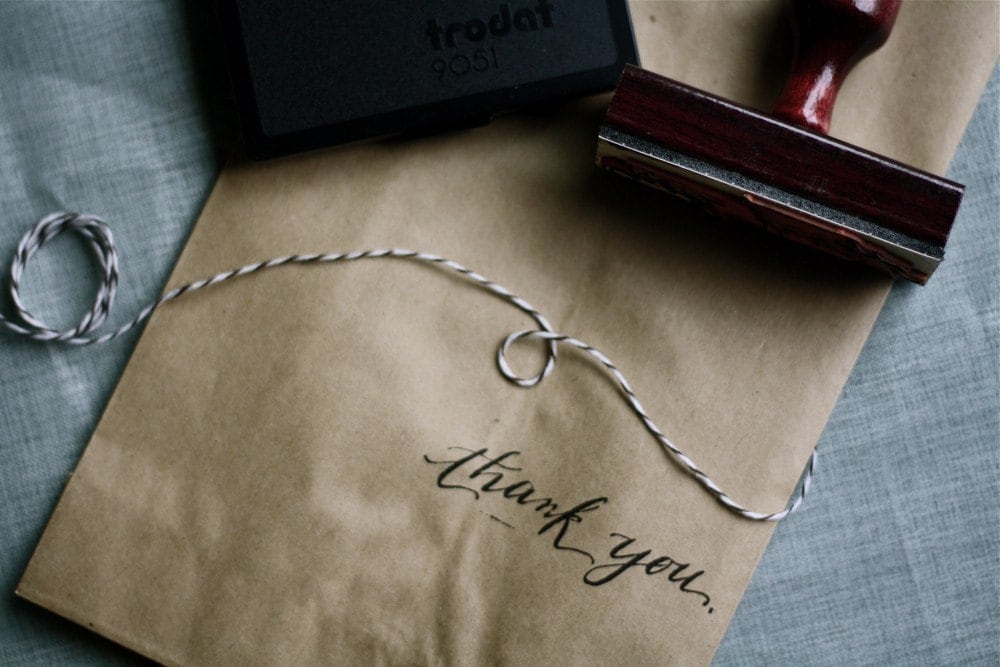
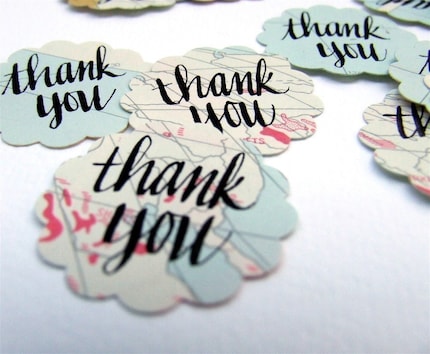
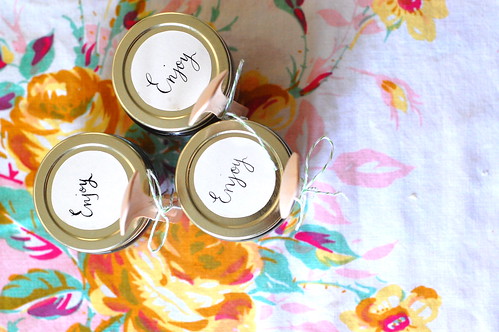
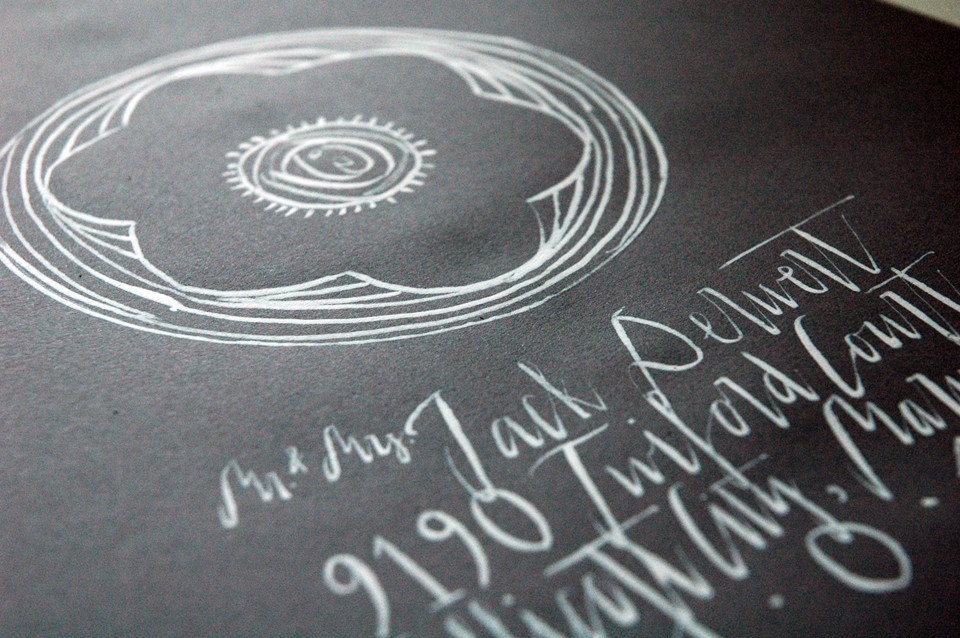
collection / calligraphy:

20

September 22, 2010

I don't have the best penmanship, actually my writing is more like chicken scratch. I would give anything to write like this! Maybe I will take a calligraphy class when I get back from the honeymoon. But I'm skeptical my writing can be better, it is pretty bad ;)

Calligraphy has such beautiful forms and shapes, it is such an art, don't you think? I've been so inspired by it lately, I thought I'd post a little collection! Enjoy.


source: ampersandity


calligraphy by: leigh wells
source: here


10decorate


i know i posted this before, but it's just so cool i had to post it again :)
thanks Shalini!

More calligraphy inspiration coming from a guest
blogger next week! Happy Wednesday Friends!

thank you cards:

32

September 21, 2010

Photobucket
Photobucket
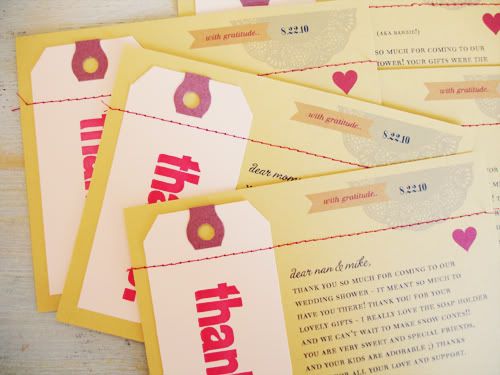
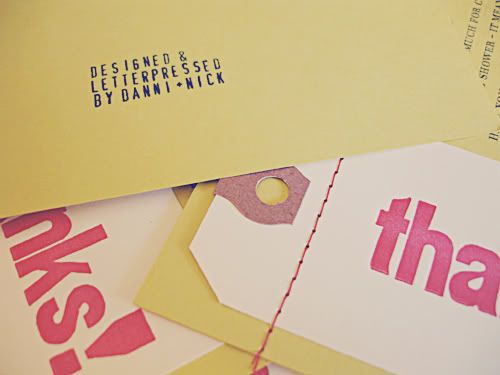
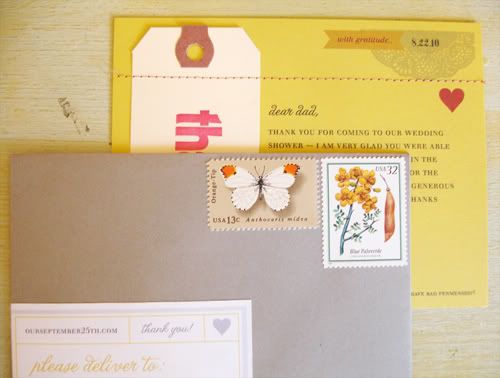
I've been making quite a lot of paper goods lately. From wedding shower and actual wedding invitations to thank you cards -- it's a lot of fun and I really enjoy it! I thought I'd share some diy thank you cards with you..

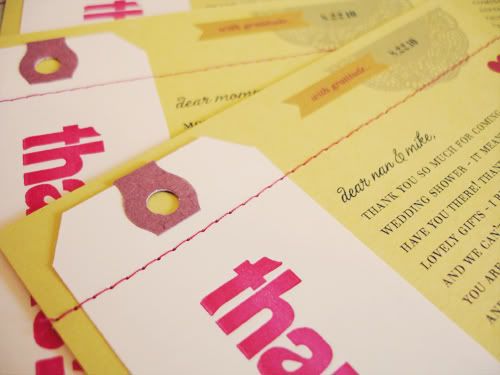
So I printed the tags on my c&p pilot press, using wood type and red ink. Then I printed a design and the message on a card (I was going to hand write the card but I have terrible penmanship) and sew the tag across the card. All done!
Photobucket
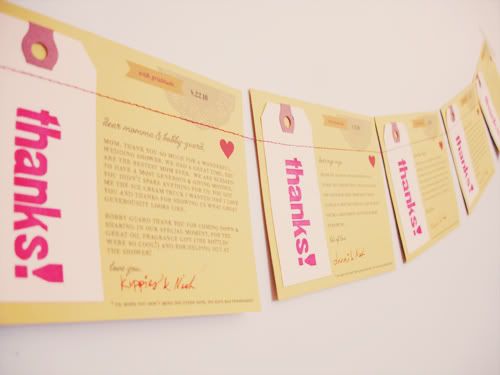
I sew the the tags on them, I thought it looked cool all hung up together.
Photobucket
A custom stamp, Nick helped me letterpress the tags :)

Photobucket
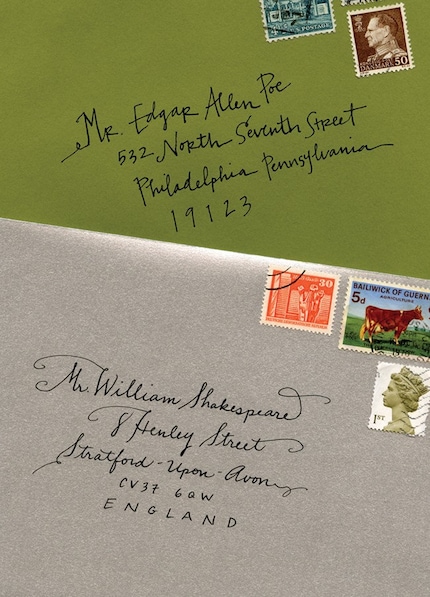
Custom mailing label + pretty postage stamps.
Now if only I could figure out how to print bleeds... :)

three cool blogs:

9

Photobucket
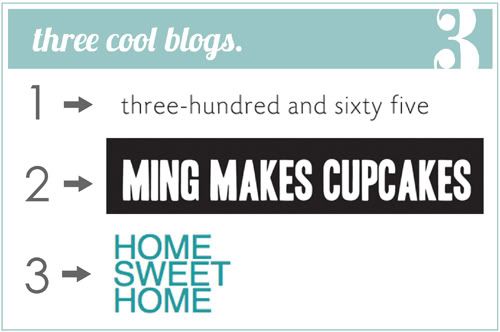
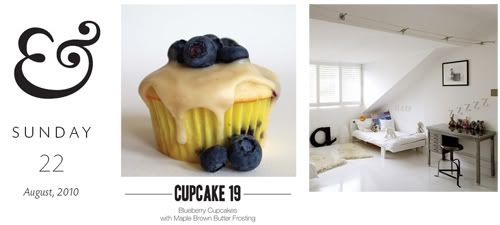
I've not really posted about blogs before that should change - there are so many great blogs out there! I came across these blogs and just had to share them with you. I mean, I think they're pretty cool :) 3 different blogs with only one content: cupcakes, ampersands, and homes. Love it! Hope you enjoy!
Photobucket
#1 - ampersand ampersand: Celebrating the beautiful of the ampersand, one new ampersand posted each day. So much lovely design in a symbol.

#2 - ming makes cupcakes: The yummiest looking cupcakes with recipes included! I wish I could magically make #2 appear on my desk right now, that one looks delicious.

#3 - home sweet home: a blog that posts images of all things related to homes and rooms! What more can a girl ask for?