Lauren from Lauren Elise Crafted is back with another lovely DIY! This is is so cute. Be sure to check out her shop and follow her on twitter!
. . . . . . . . . . . . . . . . . . . . . . . . . . . . . . . . . . . . . . . .
Bridesmaid Thank You Hankies
Bridesmaids have one of the most important jobs…supporting the bride. And it is important for the bride to let her girls know how much she appreciates their love and support throughout her engagement and at her wedding. A handmade message is the perfect way for a bride to thank her bridesmaids. This DIY is not only handmade but it adds a personal touch that lets each bridesmaid know why she is special. For the busy bride, this project is quick and easy but still heartfelt and unique. And the antique store pieces fit in great with a vintage, rustic wedding.
What you’ll need:
-vintage hankies
-vintage knick-knacks
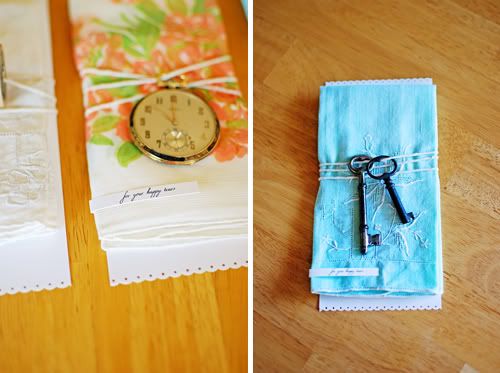
-cardstock
-decorative edge paper punch
-chipboard
-string
-tacky glue or double-sided tape
Directions:
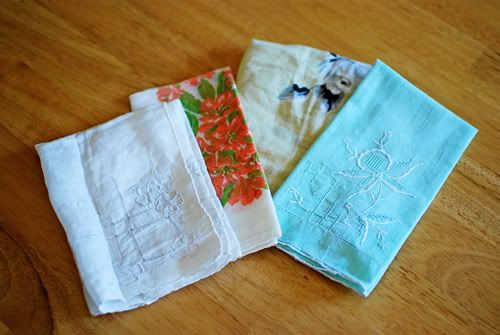
1. Pick up some inexpensive vintage hankies at your local antique store (I got each of mine for about $2.50) or use an online resource like Etsy. Depending on the condition of your hankies, you may want to hand wash and/or iron them so that they look better.
2. Peruse the antique store and look for small items that represent your friendship with each of your bridesmaids. Does a particular item make you think of your maid of honor? Does another item symbolize a particular trait of another girl? Be creative! Maybe a locket reminds you of your childhood best friend because the two of you used to wear BFF necklaces as kids. Maybe an old coin represents how you and your friend are each other’s good luck charms. This gives you the opportunity to think of something unique and special about each of your bridesmaids and then give them the proper thanks.
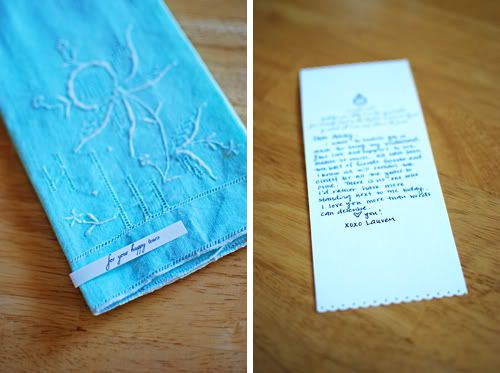
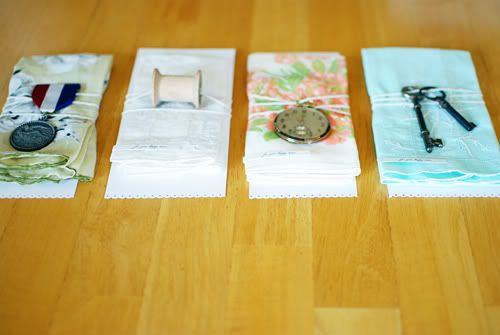
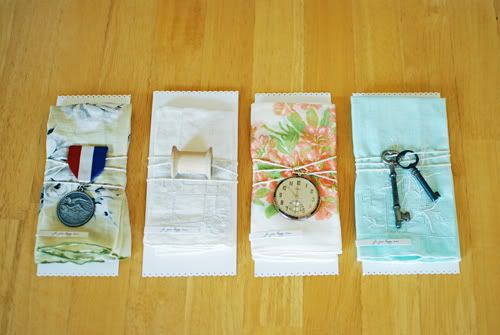
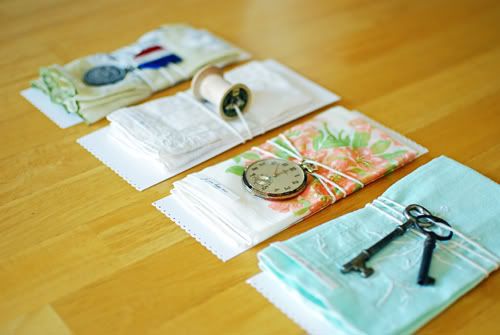
3. On cardstock print out flat cards. Include a brief message that describes to your bridesmaids the symbology behind the items you chose. I also added a small image of each of the items, in this case a key, a spool, a pocket watch, and a medal. Make sure you leave room to write a handwritten message on each of the cards, which will have a lot of meaning to each of your friends.
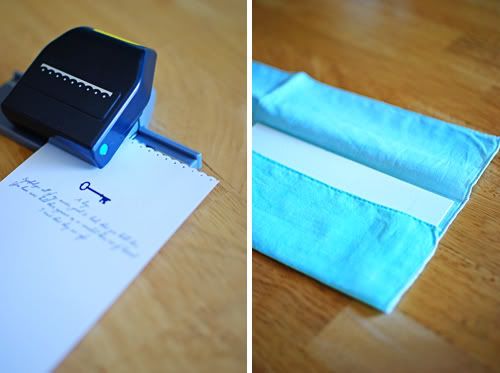
4. Use an edge punch to add a decorative border to your cards.
5. Fold your hankies to the size you prefer. For added stability, I cut out a piece of chipboard and hid it within the folds of the hankie.
6. Print out the message “for your happy tears” onto cardstock. Cut out the message and then adhere to each of your hankies. I used double-sided tape so that it could be removed without damaging the hankie - glue or a small stitch would also work.
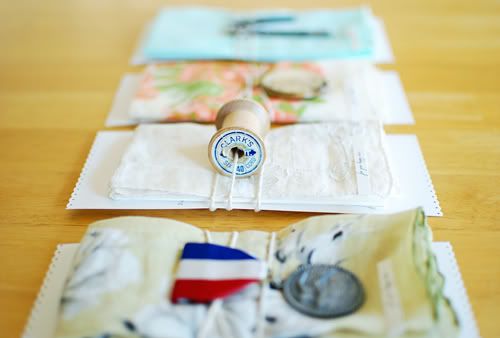
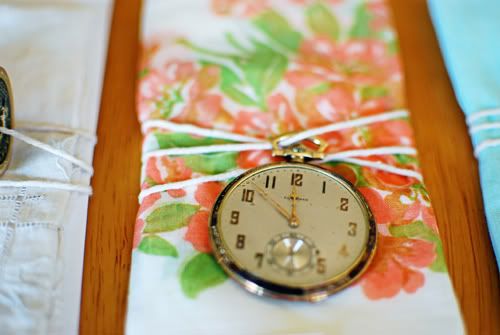
7. Place your card behind the hankie and then tie together with string, making sure to attach the bridesmaid’s vintage item to the front.
8. Give to your bridesmaids on your special day along with a hug! They can use the hankie for their tears and treasure the message that you gave them.







Thank you for sharing such a lovely DIY! I especially love how each one is different and unique, like each bridesmaid.
ReplyDeleteOooh this is really pretty! Makes me want to start digging up my grandmother's hankie drawer and saving them for something like this! <3
ReplyDeleteThey are so pretty! I wish I would have had something like this for my wedding.
ReplyDeleteA lovely and simple idea! Thank you for sharing!
ReplyDeleteNot only do I love handkerchiefs and DIY crafts, but I also gave my bridesmaids a handkerchief as part of their thank-you gift. They made sure to tuck them into their bouquets.
ReplyDeleteThese are adorable! The different attachments are my favorite part.
ReplyDeletethis is a great wonderfully presented project! I love it - it's so thoughtful (and that's what counts)!
ReplyDeleteThis is so sweet! I have never been a bridesmaid but I wish I could be!
ReplyDeleteLoved! These are so adorable & romantic!!! Loved every detail! Hugs, Twiggs
ReplyDeletewhat an amazing idea, these would be gorgeous to give to anyone!
ReplyDeleteThank you so much everyone for the sweetest comments EVER!! I'm glad everyone liked the project. You can never go wrong with a heartfelt gift (+ some vintage lovelies)!
ReplyDeleteI was so happy that I could help out Danni with a post while she enjoys the married life!
Love this DIY! Thanks for posting. :)
ReplyDeletei love how she added a little trinket to each bridesmaid's hankie, too adorable!
ReplyDeletewhat a fantastic idea! I love this and have totally saved it for my wedding ideas!!
ReplyDeletegood points and the details are more precise than elsewhere, thanks.
ReplyDelete- Murk
those are so lovely
ReplyDeletethis is such a unique, good idea! i love the execution, too. the details are so simple but really get the message across!
ReplyDeleteCool blog you got here. It would be great to read something more about this theme. The only thing I would like to see on that blog is some photos of any gizmos.
ReplyDeleteJohn Karver
mobile phone blockers
This is such a cute idea and so easy to do. What a wonderful way to convey a heartfelt thank you and message to your bridesmaids.
ReplyDeletecharming! ;)
ReplyDeleteI love the edger punch you used. :)