Hi everyone! Just wanted to let you know we have a series of wonderful guests here at oh, hello friend this week while I prepare for lots of upcoming craft shows! (7 more to be exact) Today is the lovely Amanda from Joy Ever After - a great + inspiring blog, always filled with the prettiest pictures :) Hope you enjoy the DIY project she's put together for us! Have a fantastic week friends.
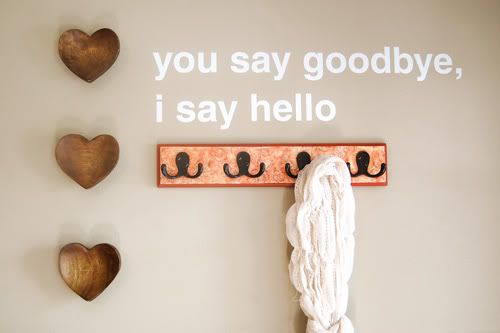
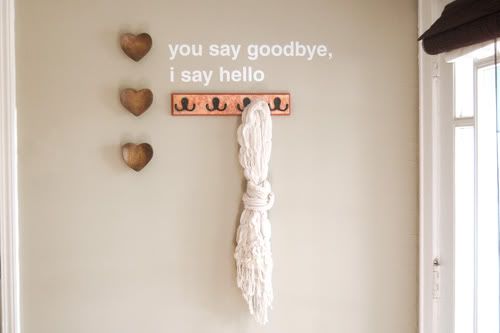
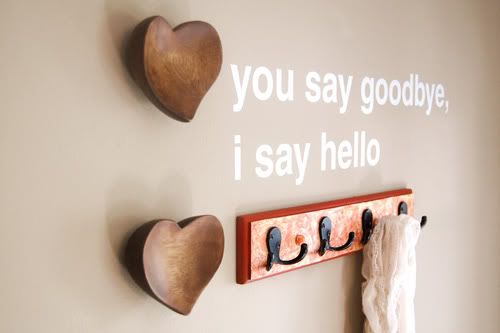
Hi there! I'm Amanda from the blog Joy Ever After. I had the perfect project in mind when Oh, Hello Friend asked for guest contributors. The wall by my front door was begging for attention, and here is what I did.
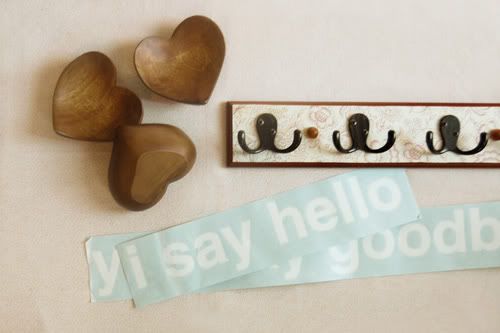
Supplies: 3D hearts (I found these at Urban Outfitters, but I've also seen similar ones at Hobby Lobby), coat rack, wall type (www.wordsanywhere.com)
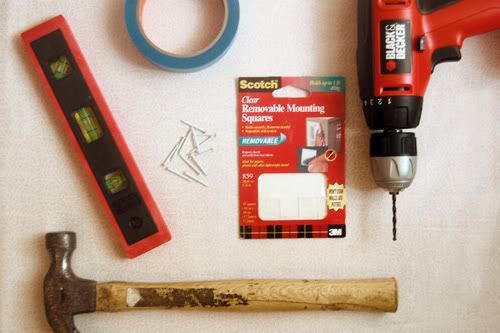
Tools: Level, hammer, nails, screw driver, mounting squares, and tape for marking
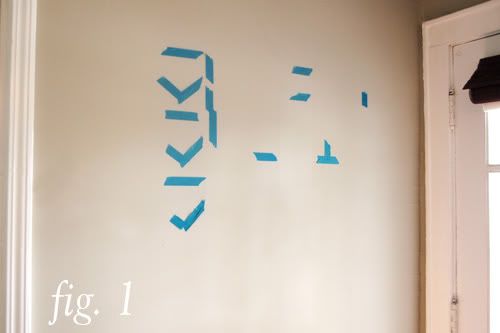
To begin, I marked the wall where I wanted each of the elements. (see fig. 1)
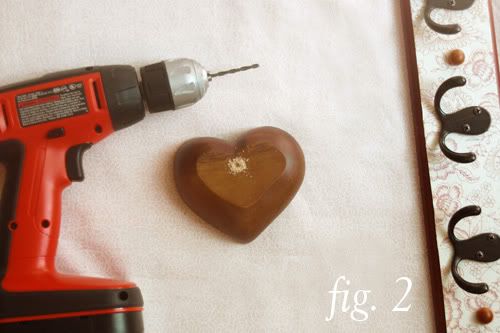
The hearts did not have any way to hang, so I drilled holes in the back of each one. (see fig. 2)
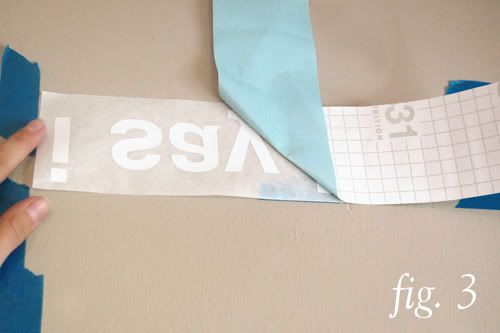
Next, I applied the text to the wall following their instructions—taping the top and peeling off the underneath layer. (see fig. 3)
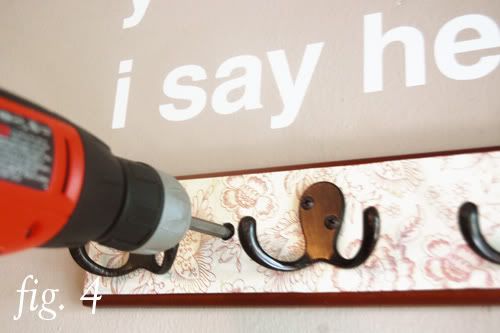
Then I put nails in the wall for the hearts, and used the screwdriver to attach the coat rack to the wall. (see fig. 4) Before mounting, I reinforced the hearts and coat rack with the mounting squares.
Decorating with objects and type makes for unique wall, and now I have a fun greeting for guests! Thanks so much to Danni, for letting me share with you!







what a cute quote to put up on the wall!! love the lil hearts too! :) wow 7 more craft show!? that is soo awesome danni! i can't even find one to go to in kansas city!! hoping you get TONS of sales!! :)
ReplyDeletei love anything hearts.
ReplyDeletesomething i would aspire to do in a future entranceway of mine.
thanks, Amanda.
p.s. - like your name. [it's mine too] *boop*boop*
Thanks so much for the feature! It looks great!
ReplyDeleteAdorable! This Beatles fan approves.
ReplyDeleteWhat a fabulous idea - I love the little hearts, they are so warm and welcoming!
ReplyDeleteI LOVE this idea! I've been looking for ways to spruce up my home office from these drab ivory walls. THIS might just be it!
ReplyDeleteXoXo,
Mimi @ Irresistible Icing
This beatles fan also approves :)
ReplyDeleteAwesome! You are talented for sure! I love the step by step photos. Very detailed!
ReplyDeleteSqueee!! I LOVE this!
ReplyDeletesuper super cute. great ideas :) love the type on the wall!
ReplyDeleteI love this so much!
ReplyDeleteGreat ideas! I actually make the wall hooks, and usually just use sawtooths but this is a fab idea, well done:-)
ReplyDeleteI love that! I may have to steal this idea.
ReplyDeleteRamblings of a Small Town Girl
I love this, Amanda - What a super-fun wall you've got now! I adore those hearts:)
ReplyDeleteWhat a great idea! I love this!
ReplyDeletelovely idea! I wasn't planning on decorating any walls that way, but now I think I'd like to try it, thanks for the tutorial! ;)
ReplyDeletehappy sales Mrs. Danni!! ;)
I hope you have a fabulous time at all your fairs/events. :)
this is lovely :) i've been wanting to put up a coat rack for a while..and this post inspired me to jump on it!
ReplyDeleteCute idea! Love it! And I bet your guests always have a smile on their faces when they come and go.
ReplyDeletexx Vivian @ http://diamondsandtulle.blogspot.com
Beatles right? how lovely!
ReplyDeleteThis looks super! Great way to brighten an entrance :)
ReplyDeleteWhat an adorable tutorial ! Something that I'll have to keep in store when I have enough space to build such a decoration :)
ReplyDeleteThis is so gorgeous!! Best of luck with the craft show! xoxo
ReplyDeleteoh i love that quote!!! I just became ur new follower girl..keep up the great work!
ReplyDeletexoxo
This is just gorgeous! I didn't realise until I scrolled down that the script was actually on the wall (I thought it was just typed onto the picture - d'oh!) It is lovely and just so fresh and clean instead of the usual clutter of a hallway (ours anyway!)
ReplyDeleteSo beautiful, and so simple! Thanks for the DIY :)
ReplyDeleteWow, I love this so much! It's so sweet and pretty! I just came over from Joy Ever After and will be linking to this if you don't mind.
ReplyDelete