Wow, that week went by so fast! I've actually met this lovely lady at a craft show, she is really sweet and talented. Nora is here sharing a cute little diy card project - she'll also be back with a studio tour too! She's on twitter too! Thanks for being here today Nora!
Hi, It's Nora from Nora Griffin! Today I thought we’d make a little something, especially since you’ve seen how I have more than enough supplies. One of my favorite things is handmade cards and here is how I made a little set recently.
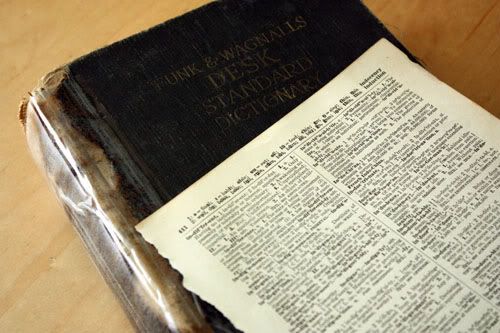
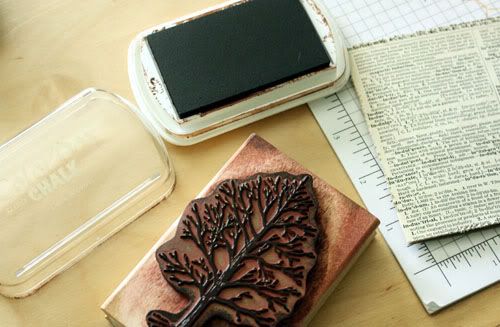
I started with an old, falling apart dictionary, tearing out a few pages for the card background.
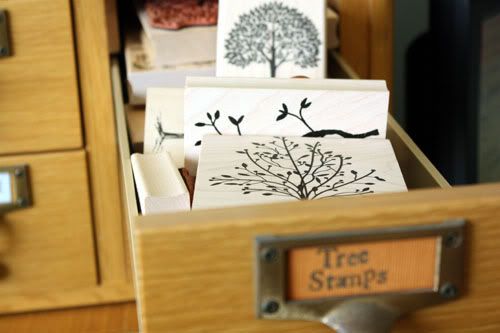
Next up is picking just the right stamp. I used kraft
colored cardstock for the card base, cut down and adhered the dictionary paper.
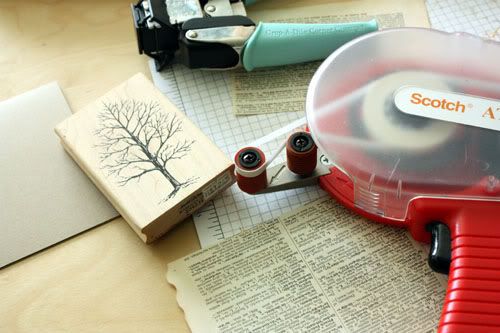
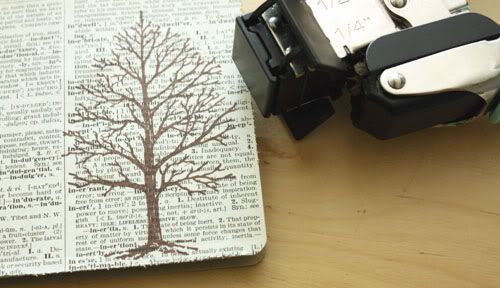
I used a paper distresser dragged along the edges to give the card a worn look.
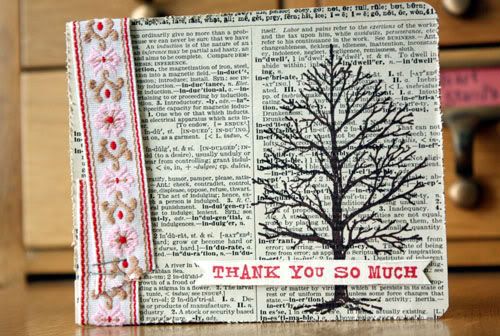
I stamped a tree image right on top of the dictionary text.
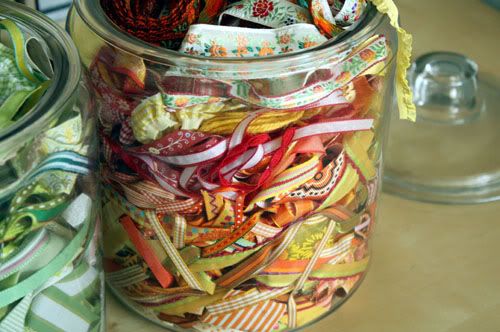
Then I took a minute to dig through my ribbon jars to add a little more embellishment.
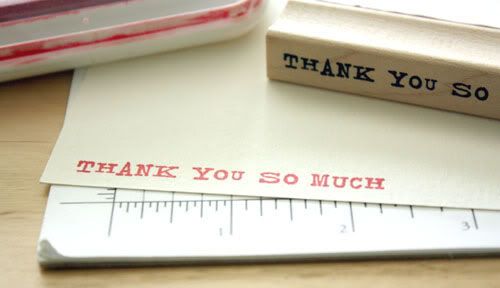
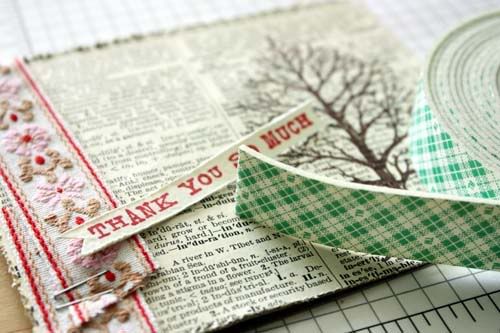
First though I stamped a greeting and mounted it on the card with foam tape to give it dimension.
The card is all done!
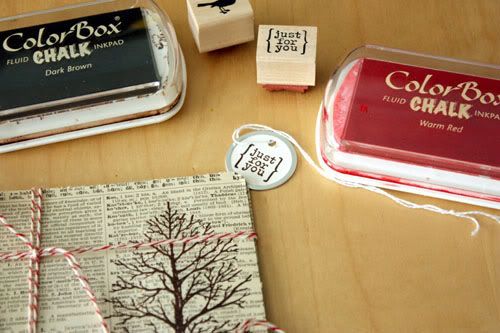
After making three matching cards…I did a little more stamping to tie together the set.
Here’s the set ready to be given as a little gift.
Tree Stamp: Stamper’s Anonymous
Thank You Stamp: Catslife Press
Ribbon: The Ribbon Jar
Ink Pads: Clearsnap
Paper Distresser: Amazon







great idea, thanks!
ReplyDeleteI'd love to have a whole drawer full of tree stamps..among others! And I'm gonna make me some ribbon jars this weekend too. They look so cute!
ReplyDeleteBrilliant! Thanks for these ideas.
ReplyDeleteThis comment has been removed by the author.
ReplyDeleteThis comment has been removed by the author.
ReplyDeleteLove Nora! So lovely to see her here. Wonderful job. :)
ReplyDeleteNora, what a eye-catching project! Love the little bit of red that you added :) Thank you for the idea!
ReplyDeleteThat is cute using old dictionary page :)
ReplyDeleteThis is gorgeous! What a great idea to ally all the different textures.
ReplyDeletegreat tutorial by Nora!
ReplyDeleteThank you for the great tutorial! I'm a word geek so I love the idea of the vintage dictionary pages.
ReplyDeleteridiculously great.
ReplyDeletethis is fabulous!
ReplyDeleteOh, God! There are so many cool ideas here! I'm glad to have found you! :)
ReplyDelete