


Hi-ya friends! Cat here {from BrideBlu}. I am here today to share with you a very timely tutorial...a Mother's Day diy! Sigh, moms...they are the best, no?
I don't know about your moms, but my mom is head-over-heals for plants. I love gifting plants since they are truly a gift that keeps on giving (and growing). What do you think, friends, how about getting your mommy dearest a sweet house plant for Mother's Day this year?
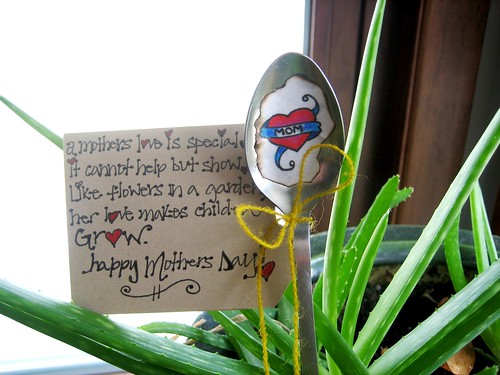
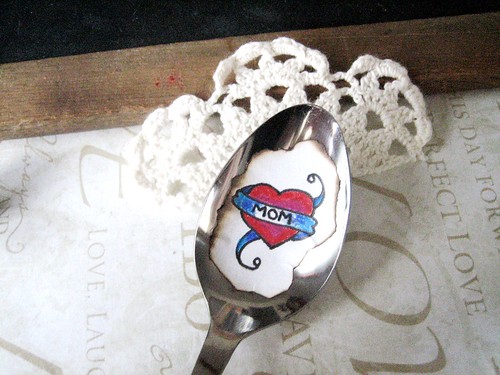
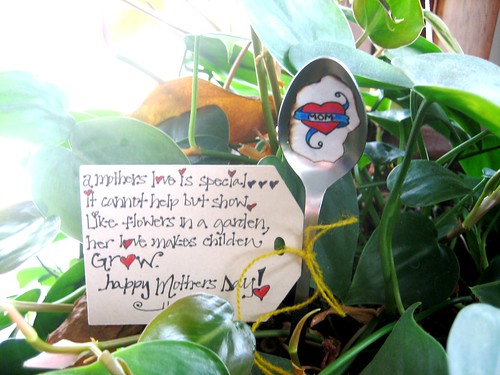
You can make your plant gift extra special by whipping up this super easy, cool, edgy "MOM" tattooed plant marker along with a touching poem to truly commemorate the occasion!
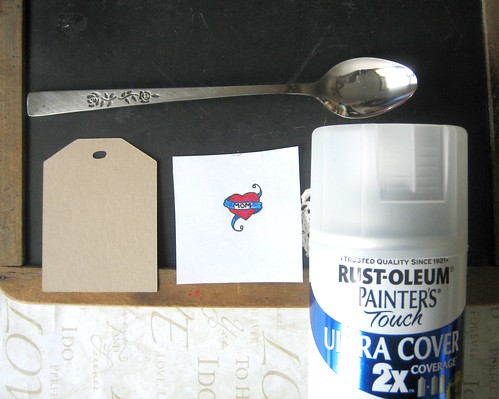
- An old spoon (I found this one at a local thrift store for 25 cents!)
- A color print-out of this design (hand drawn by moi :))
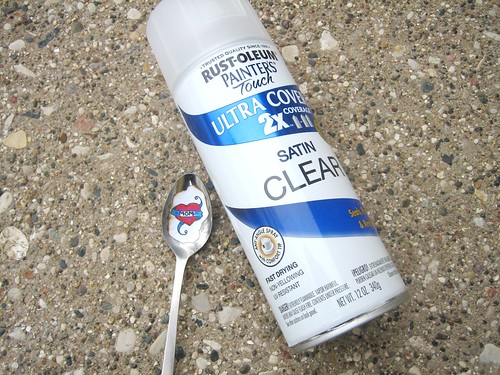
- A can of Rust-oleum Painter's Touch Spray (Satin Clear finish)
- A blank gift tag
- Ribbon or yarn
STEP 1: Center your spoon over the design and trace around the spoon (this will help insure that the design is nice and centered!). Cut around design leaving plenty of white space around the edges.
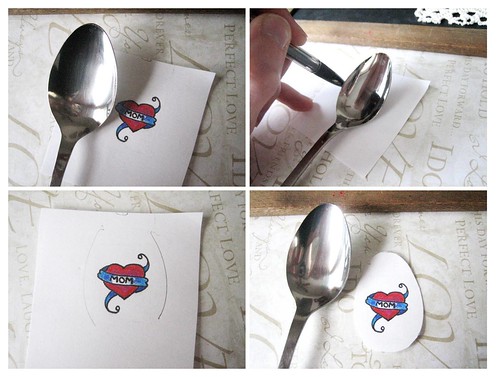
STEP 2: Carefully burn the edges of your design to give it a slightly destructed, shabby-chic look. (you will literally need to set the edges of your paper on fire then quickly blow it out, working around the design until all the edges are burned...this step is really fun, I promise!)
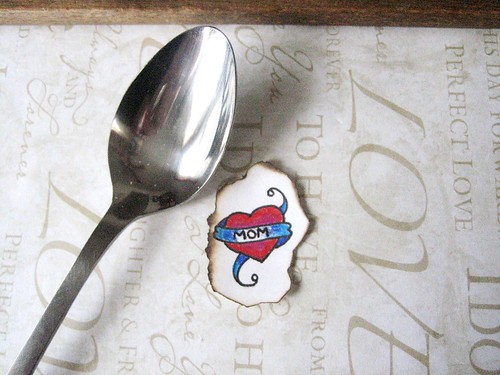
STEP 3: Apply a thin layer of glue to the back of the design and attached design to your spoon. Any glue will do, you just want to stick the design into place on your spoon. You are going to "seal it on" permanently in just a bit.
STEP 4: In a very well ventilated area (i.e. outside), spray the Satin Clear sealer to the design (this will seal the design in place while protecting it from the moisture that it is bound to encounter in the planter!). Let dry.
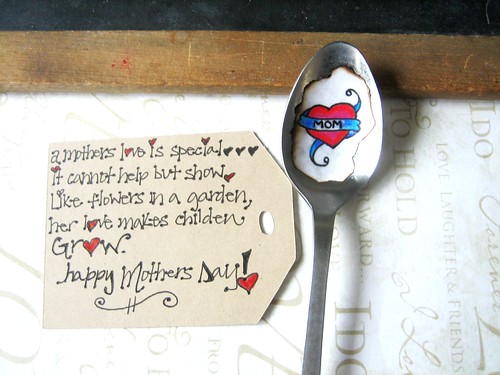
STEP 5: On your tag, write your Mother's Day message. I chose a sweet "growing" themed Mother's poem (it seemed fitting since this is a plant marker :)). {please forgive the missing "r" in children, I added it later...don't want my mom to be disappointed in my spelling abilities :)}
STEP 6: Attached tag to the spoon and nestle in the dirt of the plant.
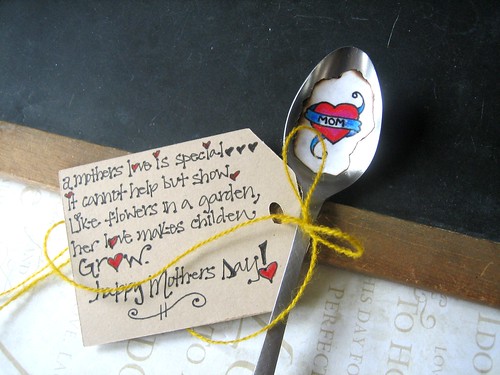
Voila, a perfectly "green" Mother's Day gift that mama can enjoy
for months and months to come!
xx Cat


that is so cute! Your writing is so perfect she won't notice the spelling mistake :)
ReplyDeletecat,
ReplyDeletei love your ideas. i am still trying to get to the rosette necklace tutorial you posted a week or two ago. i look at it every day.
this is a great mother's day idea. inexpensive, but special. i am going to do it with my three children.
so, i think i know the answer to my question, but here goes: can i just use some piece they've colored or painted instead of the printer-printed design? basically--do you think any type paper will adhere to the spoon with your process?
thanks, cat.
i can't wait to see your next tutorial.
katie
so cute, I will have to try this :)
ReplyDeleteWhat a sweet idea! A very personal way to gift a plant. Thanks for sharing :)
ReplyDeleteI really love this idea! Cute, easy and definitely from the heart.
ReplyDeleteThat's such a cute idea! Love the burnt edges
ReplyDeleteWhat a fun idea! I have seen something similar on Etsy but how unique to make it yourself!!!!
ReplyDeleteThis is great -- I'll have to do something like this! I always get her a plant so this'll dress it up nicely. :)
ReplyDeleteHello! I hope you dont mind I featured this DIY and one other one on my tiny blog here: http://ladyemmy.wordpress.com/2011/06/02/my-favorite-diy-projects/ Let me know either way:)
ReplyDelete-m