


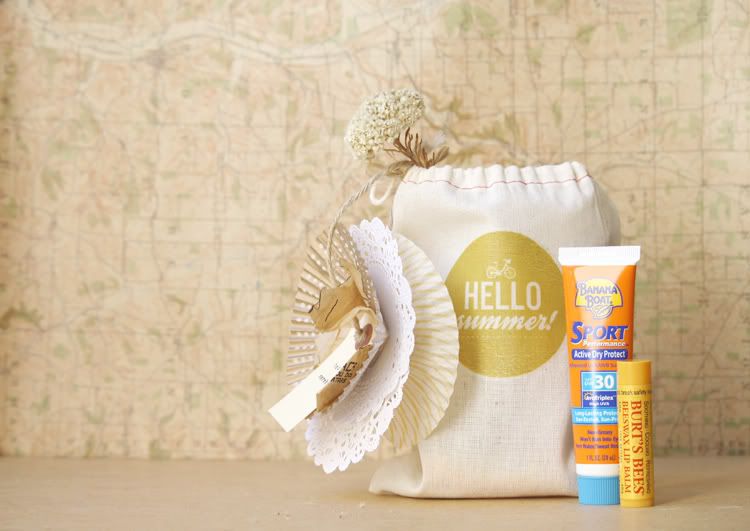
DIY - Summer in a bag: I made a few summer projects for a book submission and I'm posting the rest here ;) This is a quick & easy project. I had a friend come into town to visit so I decided to make her a little summer kit. I added a little ruffle gift tag to it but that's optional.
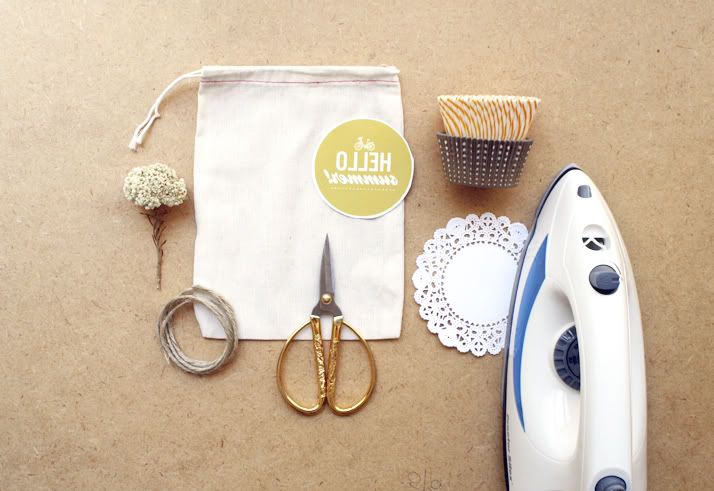
Here's what you need:
- Drawstring cotton bag
- Iron on paper
- "summer" items for kit (I gathered a mini block of sunscreen,
sunglasses, lip balm, a small pocket mirror, and a bottle of nailpolish!)
For gift tag:
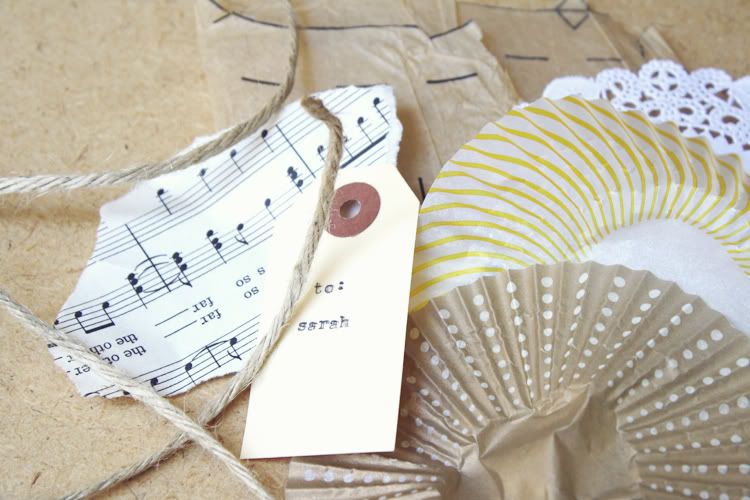
- Cupcake wrappers
- Vintage paper & tissue
- Twine
- Shipping tag
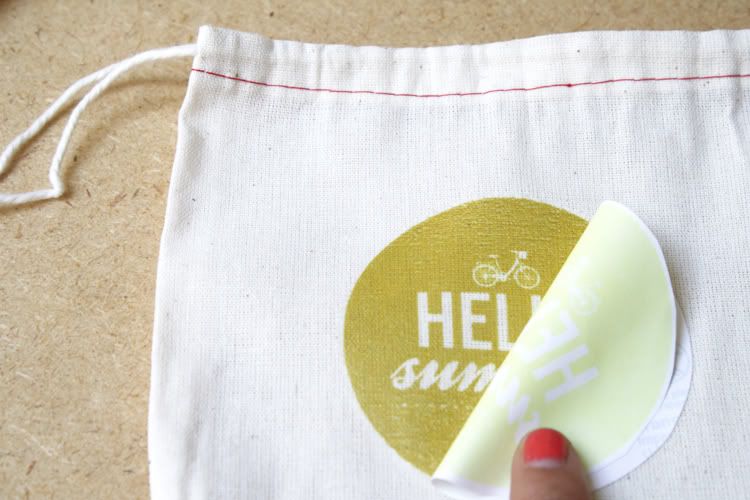
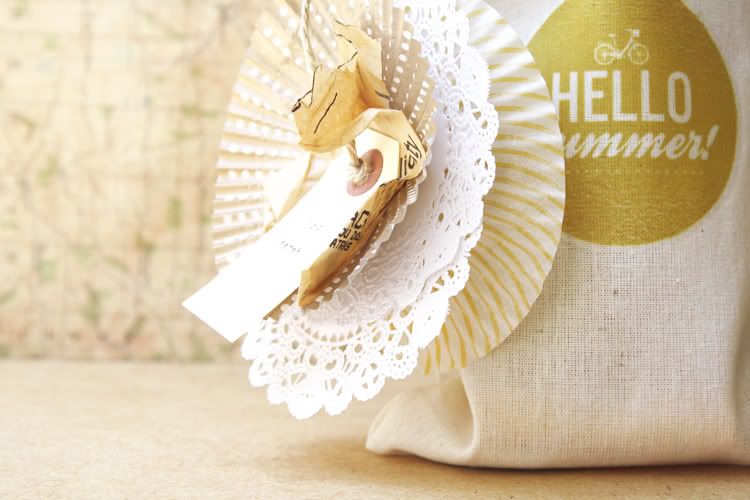
Peel away paper to reveal your graphic!
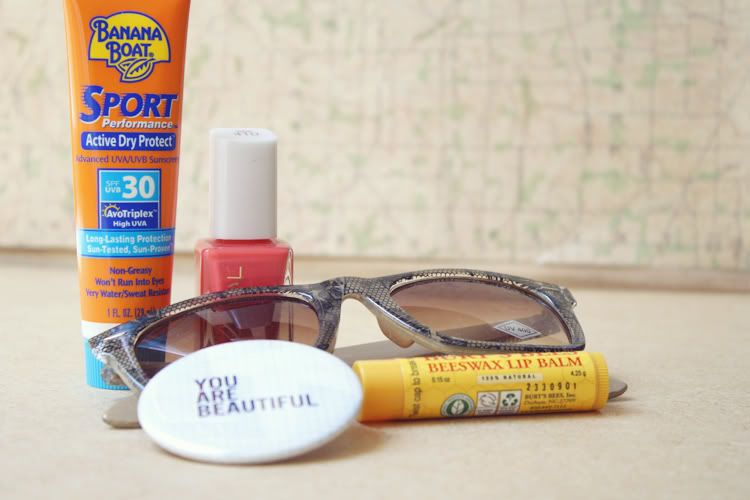
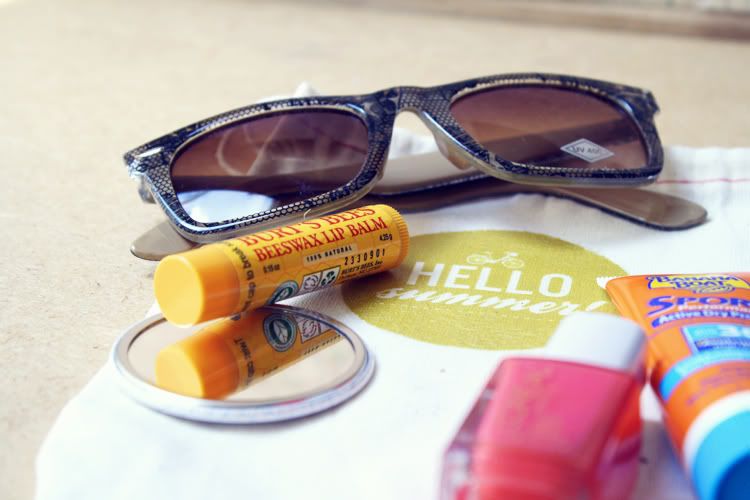
Stuff the bag with your summer goodies!
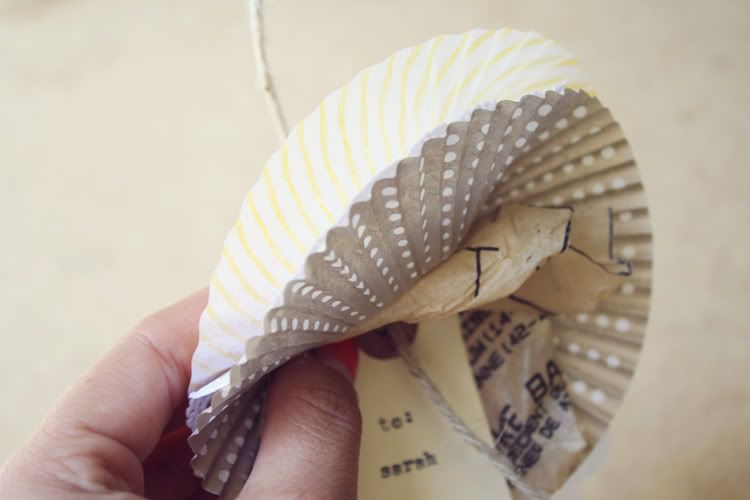
To make gift tag:
Then, string your twine through all the layers.
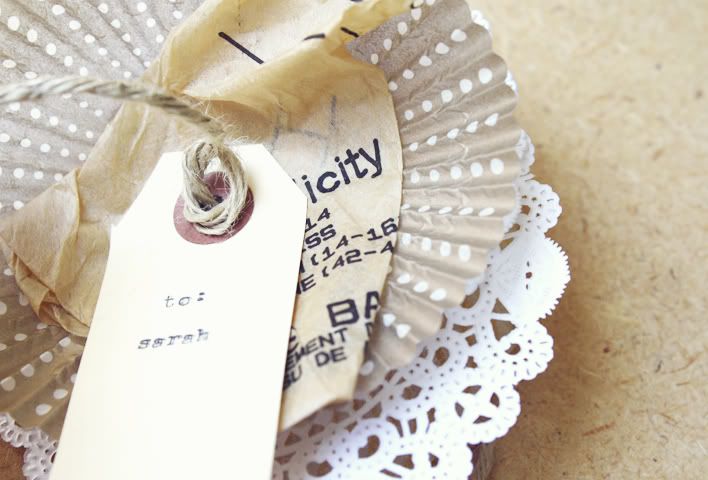
Tie a knot at each side of your papers.
and you're all done! Tie gift tag onto the bag.

I said it was easy! ;)
For gift tag:
- Cupcake wrappers
- Vintage paper & tissue
- Twine
- Shipping tag
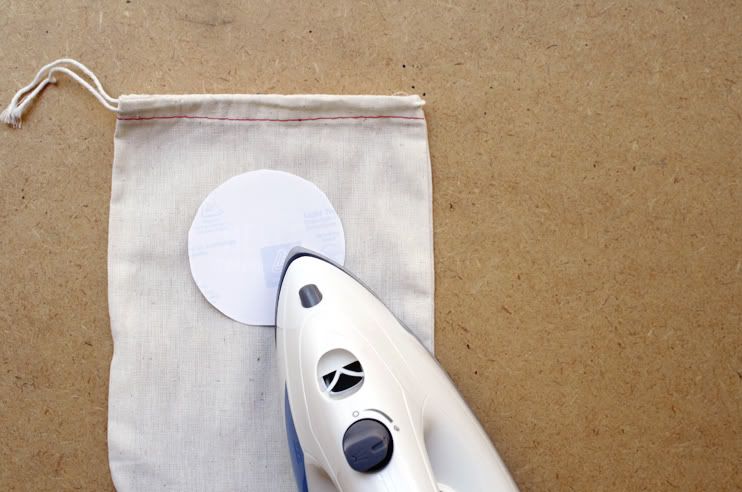
So you'll need to print your graphic, make sure you reverse it so when it irons on, it reads correctly.
Peel away paper to reveal your graphic!
Stuff the bag with your summer goodies!
To make gift tag:
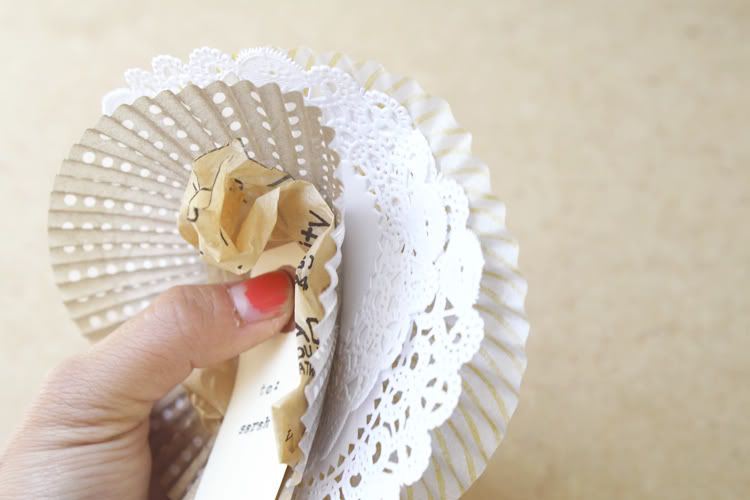
So for the gift tags, I used doilies, cupcake wrappers, sewing pattern tissue, and music note sheets. Flatten out the cupcake wrappers and gather all the elements together.
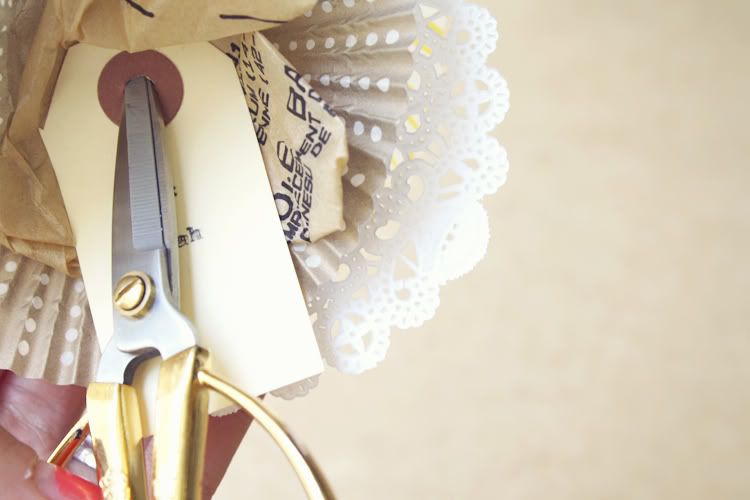
Next, poke a hole through all the layers. Be careful when doing this.. I just use sharp scissors and cut through, but if you have a better method, use that!
Then, string your twine through all the layers.
Tie a knot at each side of your papers.
and you're all done! Tie gift tag onto the bag.
I said it was easy! ;)


Oh I just love this idea! My M-I-L is coming to visit for a week and I wanted something special to have on her bed for her when she comes. I think a good novel would also be a nice addition.
ReplyDeleteSuch a fun idea. These would make fun little gifts.
ReplyDeleteWhat a cool and easy idea!
ReplyDeletewhat a fun idea
ReplyDeleteAbsolutely adorable! How did you do that iron on? Every time I come to your blog, I have new inspiration for projects. LOVE that.
ReplyDeleteLove this! What a great gift for a friend visiting in summer!
ReplyDeleteHow fun!
ReplyDeleteWhat a great idea! This would make an awesome gift!
ReplyDeleteI love it! Just the perfect idea for a cute gift :)
ReplyDeleteWhat a fun and creative idea! I love the iron on. =)
ReplyDelete- Sarah
http://agirlintransit.blogspot.com
this is lovely! will try it... I like the idea for summer goodies, maybe I will make one for winter goodies ...(down in the southern hemisphere :)
ReplyDeleteyou are soo cute! what a great idea!!
ReplyDeleteI absolutely LOVE this idea. Guess what is next on my crafty to-do list now?
ReplyDelete:)
Sooo stinkin' adorable. What a great idea!
ReplyDeleteThis is so cute - what a thoughtful & fun little gift. I was so hoping to see a download link for the graphic - yours is soooo cute!
ReplyDeleteCan I be your friend so I get things like this?
ReplyDeleteThis is the cutest thing!
what a cute diy, danni! i especially love the iron on label on the bag.
ReplyDeleteyour creativity always inspires me danni, thank you!
ReplyDeletej.
This is BEAUTIFUL! i love it! :)
ReplyDeleteYou are so crafty! Loved this DIY posting because it's so simple but thoughtful. You've inspired me to begin crafting since I've been in a craft funk, not motivated to make jewelry, etc. Thanks for sharing this sweet project :)
ReplyDeleteyour such a sweet friend! love the tutorial!
ReplyDeletethat is such a cute idea! i really liked the iron on image part, it looks so fabulous on the bag!
ReplyDeletesuch a cute idea!! i hafta do this now!!!
ReplyDeleteWow! that was easy... I haven't tried transfer paper, but this really makes me wanna try it right away...
ReplyDeleteWhat a gorgeous gift! you are so thoughtful!
ReplyDeleteGreat idea! I especially like the gift tag. So simple yet so cute! Thanks for sharing! :-)
ReplyDeletecan you post a pdf with your wonderful Hello Summer "button"????
ReplyDeletegrreetings from germany*
This is such a cute idea. They'd be great party favors for a big backyard cookout, summer wedding or beach party.
ReplyDeleteThis is the cutest idea I have ever seen!
ReplyDeleteVery fun!! I want to go to that cave restaurant!
ReplyDeleteThis comment has been removed by the author.
ReplyDeleteI love your scissors!
ReplyDeleteWhat a great idea, and wonderful way to welcome someone to your home.
ReplyDeletesweet! do you mind me asking what brand of iron on paper you used? i'm about to tackle a big iron on project and i'm having trouble finding a brand that has consistently good reviews!
ReplyDeleteCan I be your friend? You give such cute, sweet, thoughtful gifts. I love all the notebooks you do; and, now this.
ReplyDelete