hello diy / wish bracelets:

26

March 4, 2013


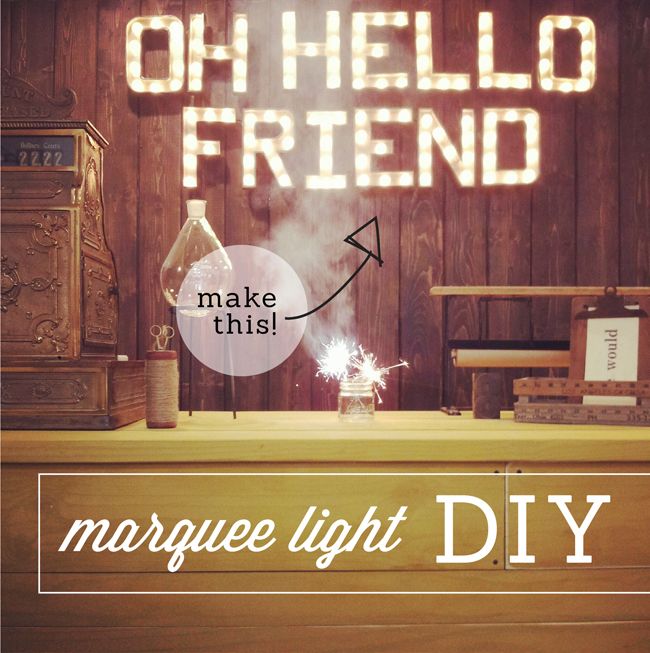
This is a really quick & easy DIY project, and makes a sweet gift for friends :)


Supplies: 
- Alphabet stamps
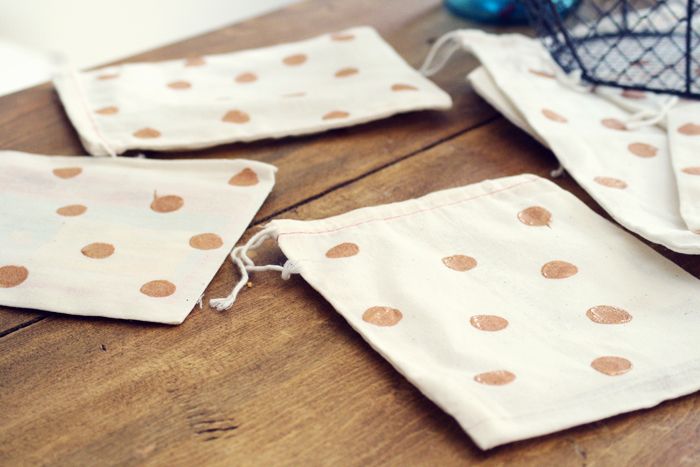
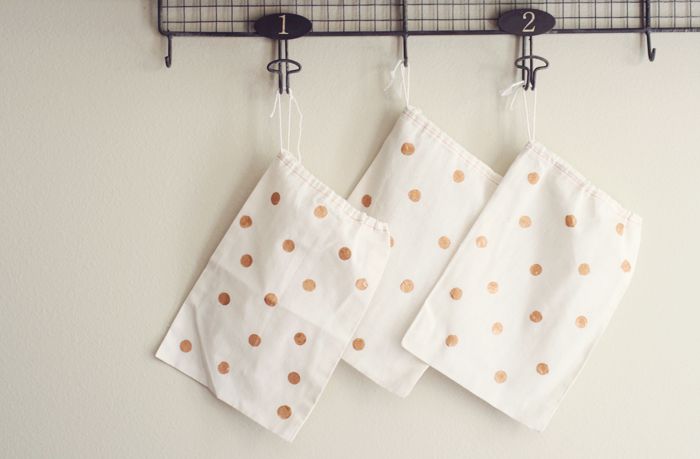
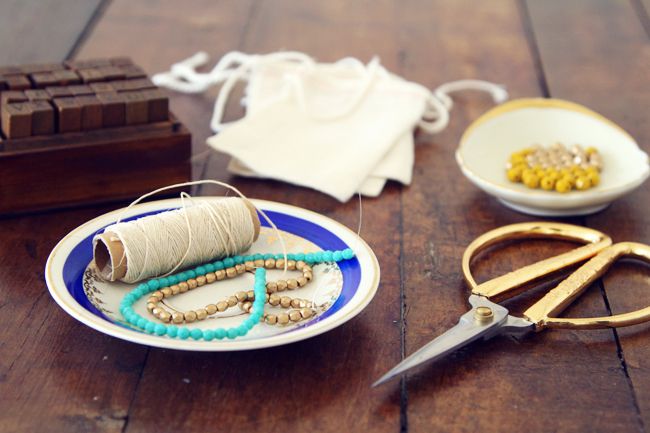
- Drawstring cloth bags
- Cord (mine is from here)
- Beads (I used Czech Glass from here)
- Scissors
- Gift Tags


First I measured about 8" for the bracelet. This can be adjusted based
on the wrist size and always cut down if too much is cut.


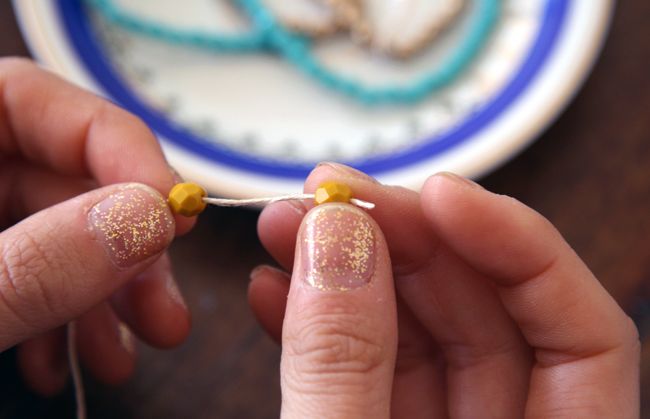
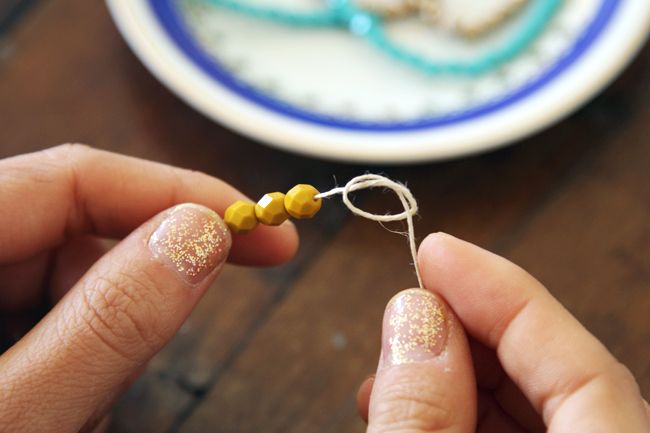
String your beads in the center and tie a knot at each end of the beads.


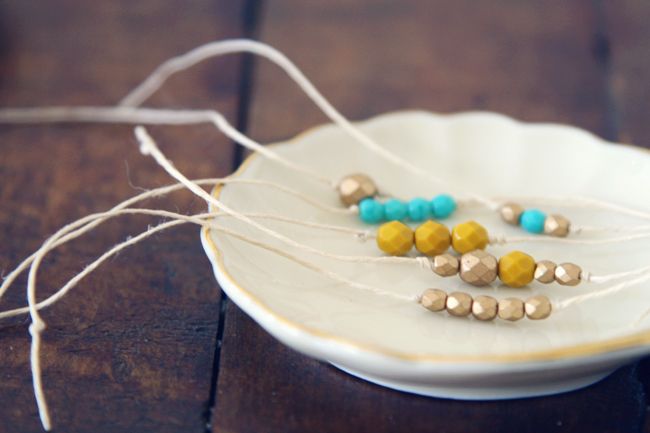
Switch up colors or whatever!


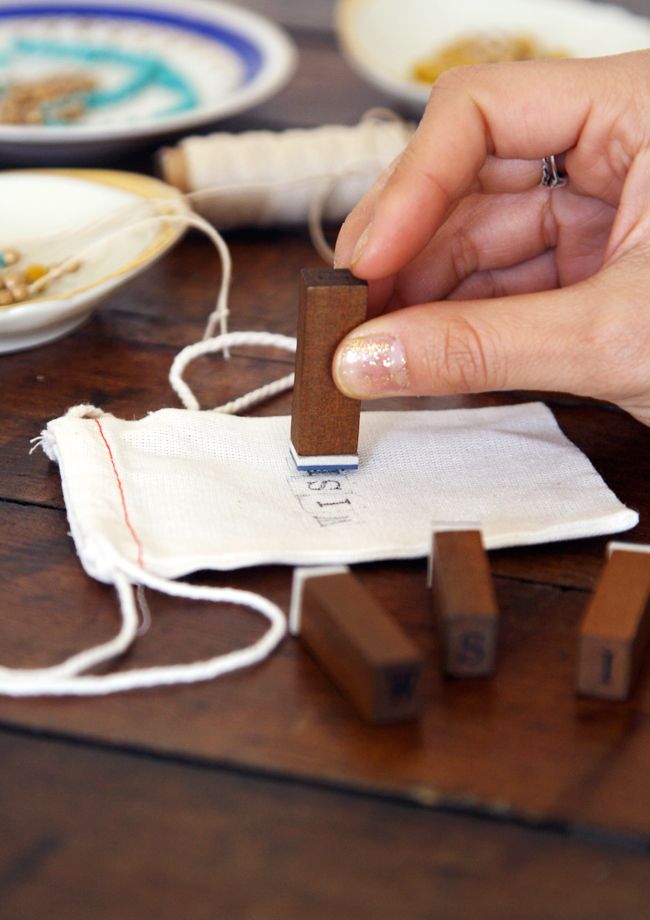
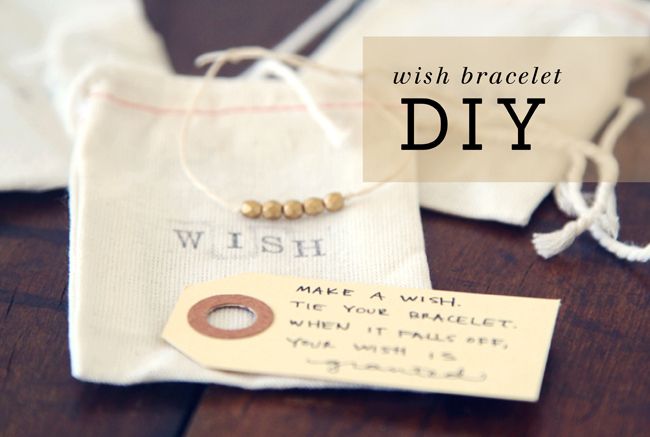
Next, stamp your bag with whatever you'd like it to say. I stamped "wish".


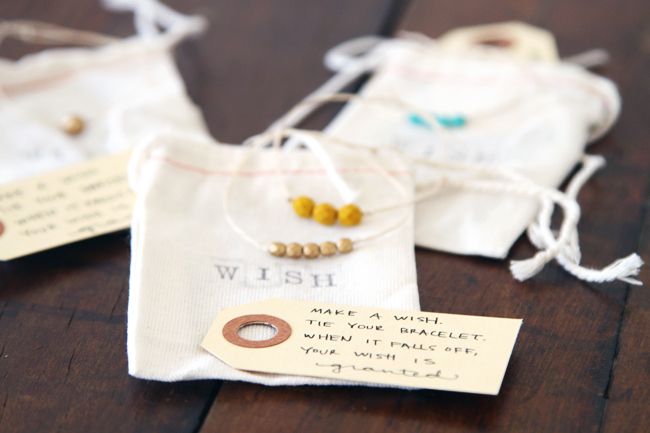
Take a gift tag and write a little note explaining the bracelet. I wrote 
"Make a wish. Tie on your bracelet. When it falls off, your wish is granted" All done! :)

hello diy / Marquee Light:

54

February 5, 2013

I know some of you have been waiting for this so here is the DIY on the marquee light sign Nicholas made for our shop! This was a really fun project. We looked at getting it custom made with real metal but the cost was about $2,000. After I showed Nick the DIY from Jordan, Nick did some of his own research and found this DIY from Crafts Unleashed and decided he'd try to make it himself. 

Supplies: 
- 12" Cardboard letters 
*we bought ours here at Joann's so we could pick them up right away instead of wait
for shipping. they happened to be on sale for $2.99 but if yours aren't on sale, don't forget
to use a coupon for extra savings! If you don't have a Joann's near you, the letters
are also available here at consumer crafts!

- Spray Paint 
*we used Rust-oleum Hammered in Dark Bronze to get the real metal look.
We tested a few different colors though so you may want to do the same 
to make sure you're getting a color you like. 

- String Lights (we bought ours from Target
- Drill
- Xacto / Blade


First you're going to take a straight edge and cut out along the edge of the letter.
You can cut out right to the edge but Nick left a little border as you can see from the photos.


All cut out! Nick took the blade and cleaned up the edges of all of the letters too.
Flip the letter over and now you're going to do the bulb placement.
 Figure out your bulb spacing and draw a circle for the placement.
Then drill the holes. Nick used 5/16 drill bit (which was the biggest one he has) but it was not quite large enough, he had to make the holes a bit larger after he did the drilling. So if you have a bigger drill bit, go with that!


Spray paint all your letters. Spraying the back is not necessary.
All sprayed!
Now place the bulb through your drilled holes and attach the string.

It depends on the letters (since some letters have more bulbs)
but Nick said you can do about 2-3 letters per 1 box of lights (1 box is 25 bulbs)

To hang up our letters, Nick drilled holes in the wall and used light strings to hang the letters. He also used the cardboard we sprayed on as a template for the wall. Nick tucked all the extra string in the back. Since they have hooks attached to the lights, it made it pretty easy to hide all the extra wire.
That's it! Nick is a real diy'er, He also made the checkout table in the photo above too! In total we spent about $150 on this project! As much as having real metal would have been cool, I'll take spending $150 over $2000 any day ;) Obviously for this many letters it was pretty time consuming but a rewarding end result! If you are just doing your initials or something, it'll go a lot faster. Hope you have fun with this project. 
If you do try out this project, I'd love to see how it turned out! Maybe try a color for the letters (I should have done YELLOW! ;) they don't have to have the metal look. Or you could try it with the 8" letters which would be cute. Anyway, if you have any questions about this DIY, just let me know!

hello diy / polka dots:

18

November 19, 2012


Today I'm sharing a quick + easy polka dot diy with you. I like polka dots! For this project, I used a Martha Stewart custom letter stamp kit and placed my company info. Note: this kit isn't the easiest to use, I find this one is much easier to place the letters! You'll also just need some craft paint, I used a metallic copper.


I stamped my cards with my info and then I took the end of a pencil eraser to stamp the dots.


You can use the paint with other products as well! I used the end of a lip balm tube and stamped cotton bags for a cute polka dot design.

Easy right? :) Thanksgiving is this Thursday, maybe you can make some pretty polka dot place-mats or name cards for your dinner table! Happy Monday friends.

Mini Yogurt Pies:

9

October 24, 2012


Here's a quick and easy fun little treat you can make. Great for kids! I actually made these when I was little, they were really good! The only ingredients you need are:

 - 2 containers (6 oz.) low-fat strawberry yogurt
- 1 cup frozen non-dairy whipped topping, thawed
- 1 1/2 cups quartered fresh strawberries, divided
- 1 package Keebler Ready Crust Mini Graham Cracker Pie Crust
- Optional: Cute cake toppers and sprinkles.


1. In medium bowl fold together yogurt and whipped topping. Arrange strawberries in tart crusts, place  6 strawberries to the side.
2. Spoon yogurt mixture over strawberries in the tart. Refrigerate at least 1 hour.
3. Top each tart with reserved strawberry piece. Store in refrigerator. All done!

I skipped the strawberries and just added sprinkles. If you're making these for kids, 
you can let them add their own sprinkles. Fun fun :)

hello diy / encouragement business cards:

52

August 27, 2012


I created this post for the Alt Summit blog. In case you missed it, I am posting it here at the blog. You guys know I like business cards ;) So here's a very simple business card DIY for you!


SUPPLIES:

- 1" round punch
- Pre-cut business cards
- 1 sheet of label/sticker paper
- Information stamp (I got mine from vistaprint - they have some free stamp designs
available or you can pay $2-$3 or something to upload your own design!)
- Scratch-off stickers (I got mine at ebay
 
 
Stamp your cards with your information. Note: You don't have to use a rubber stamp or purchase pre-cut business cards, I just did to save time. You can buy plain paper & cut it to the size you want, print directly onto the cards, whatever you prefer!


For this part, you'll need some kind of drawing software to create your circles. Some free versions out there are inkscape or you can try using Aviary - I made 1" yellow circles and typed out encouraging phrases. If you don't mind the same phrases as mine, it can be downloaded here :) I included a couple different colored circles too. Just fill in your own coupon phrases in the blank area.


You could also do fortunes or even coupons if you have a shop. One you have them made, print them out on the white label paper. Cut them out with your punch.


Since they were printed on the white label/sticker paper, they are really easy to just stick onto the card. You don't have to mess with glue or anything.


Then take the scratch-off stickers and place them directly over your round stickers.


and you're done! You can also hand write a little note with arrow saying "scratch" so people know or just tell them as you hand them out.


I think these would be fun and memorable because they involve some effort on the receivers part to see the secret message underneath. Once their fortune or coupon or whatever message is revealed, they may hold on to it and always remember your information!